Last year I did a large letter cut-out art project to go with each of our alphabet letters. This year, instead, I'm being a little more flexible and doing various projects that focus on the letter or animal that we are learning about.
"F" is for Felt Fish
This was a fun, colorful, project with a sensory aspect to it.
Here's what you need:
*Printed fish pattern (Google "Fish Pattern" and you have all sorts of choices)
*Scissors
*Large sheets of construction paper
*Various colors of felt, cut into scale shapes
*White glue
*Googly eyes
*Markers
We cut out the fish pattern and the students were given the choice to glue it to a larger sheet of construction paper. Then they added the felt fish scales and googly eye. Some of the students who glued their fish to the paper used markers to draw other things that might be under the water with their fish.
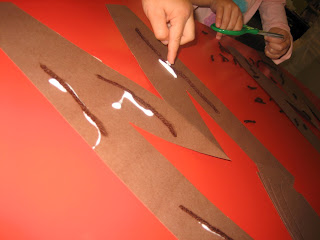
The felt was a different type of texture for us to work with on an art project. The kiddos liked picking out what colors they wanted. We also had good practice squeezing white glue out of the bottle to make dots.
Hoof Print/Foot Print
Our animal for letter "G" is a goat. I was racking my brain and the internet for ideas with no luck, (there really aren't that many goat art project ideas out there) so I got creative with a science/art project.
I prompted my kiddos with the question: "Do goats have toes?" Then we discussed how goat feet are different from our feet.
To help visualize what a hoof print looks like I decided to make my own hoof print stamp.
First, I printed out a pattern of a goat hoof print (gotta love Google images!). I cut the pattern out and traced the shape onto craft foam. (I had pretty thin foam, so I tripled the foam up so it was thicker.) Next, I glued the foam onto a plastic lid to form my stamp (note: if I do this again I will make the stamp a little smaller so it will be more relative to the size of the kids feet - this print is from one giant goat!).
For the project I showed the kiddos a picture of goat hooves and what it looked like when the goat left a print. Then I had them use the stamp and a large stamp pad to make their own prints on a piece of paper.
My adventurous students went one "step" further (ha, ha I made a punny!)
- they let me paint their foot so they could make their own foot print next to
the goat hoof print.
When the project was done we could compare and contrast the differences!


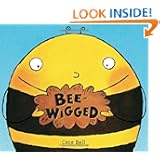
 The book "Bee-Wigged" is hilarious on a variety of levels. Jerry Bee is an enormous bee that has no friends because everyone is scared of enormous bees. Jerry's life is transformed with the discovery of a wig... We read the book together and made our own bumble bees that looked like "Jerry Bee" (minus the wig).


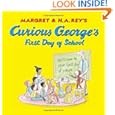
 For our first week we take time to become familiar with school routines and for our curriculum we focus on colors. "Curious George's First day of School" was a great story to help introduce both the subject of school and color to the kids. In the story, George visits a classroom and discovers all the things the kids do at school. While visiting George also gets into the paints and creates all sorts of colors and, of course, a mess. We didn't do the mess part, but we did do lots of color activities including color mixing with paint and shaving cream, ice cubes, and eye droppers. (Sorry no pics - it was indeed the first week of school and my ducks were not in a row!)
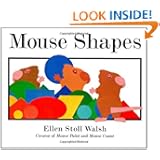
 The second week of school we focused on shapes. I LOVE the book "Mouse Shapes" and all of my students loved it too.


