Tuesday, November 8, 2011

the elephant in the room

Did you know that elephants walk on their toes?  That's one of the things we learned while focusing on the letter "E" this last week.  We also learned that our noses are not nearly as talented as an elephant's.  How would you like to pick up a peanut with your nose? : )


For our letter "E" project I wanted to make an elephant out of the letter shape, but my plans were altered when I found a TON of copies of an elephant printable that were sitting in my files and needing to be used.  Cutting out lots of tiny pieces for a project is not my favorite thing to do, but for the sake of stewardship I went for it...

We cut out the elephant pieces and gave them to the students to glue on to their "E".  I gave them a sample to look at, but let them choose how they wanted to glue it themselves.  

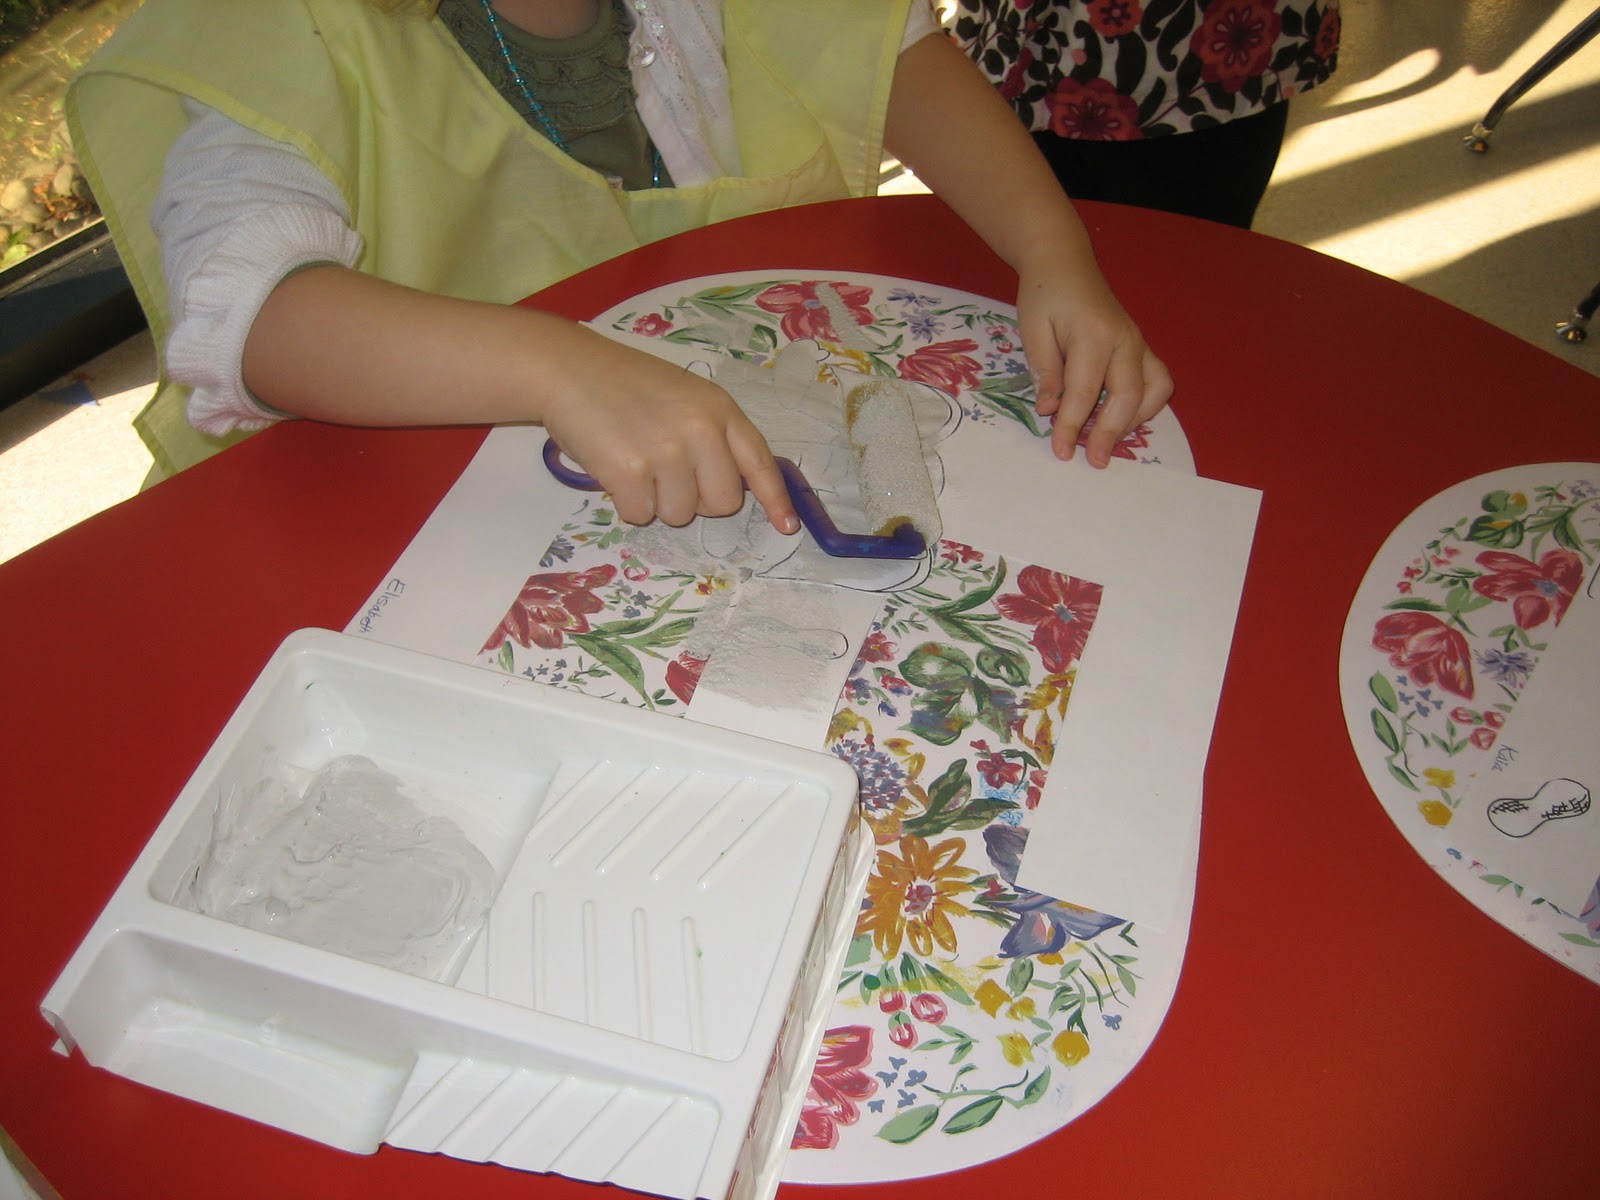
After we glued, we painted the letters with sponge painters and gray paint.  

(Note: If I do the project this way again I'll trace an "E" onto a larger piece of paper and cut out the letter shape AFTER the paint is dry - then the paper won't curl so much.)  Our "E's" turned out great and the students seemed to have a good time gluing and painting.


In our sensory table I added plastic eggs to the corn.  This combo made some great rhythm instruments!  The plastic eggs are also great for those hands - it takes a little work to get them open and closed.


We used craft sticks to make "E", practicing using white glue to put the sticks on our paper. We also added pictures of things that begin with an "E" (eggs, elephants, envelopes, etc...) to our collage. Getting the craft sticks to make a letter "E" was a little difficult for my younger students.  I'll have to get out craft sticks more often to play with to make shapes and letters.

Other activities this week included:

Pumpkin Walk:
  • Place pumpkin flash cards (made with our current alphabet letters on the back) in a circle on the floor
  • Turn on some music and walk around the circle
  • When the music stops, pick up the pumpkin you are closest to and see what letter is hiding on the other side
  • Take turns around the circle to share what letter you have


Pumpkin Seed Counting:
  • Write numbers on  paperplates
  • Add a container of pumpkin seeds
  • Count the seeds onto the plate to match the number (if you look closely you can see that we still need more practice!)
Fall Roll and Count:
  • Die (only includes #s 1-3)
  • Acorns
  • Leaf Math Mat
  • Roll the die and count the corresponding number of acorns onto the mat

Sunday, November 6, 2011

donkeys and dinosaurs

For letter D, our Abeka Animal Friend is "Dexter Donkey".  I wanted to find some more activities that centered around the donkey theme, but we had so many other activities happening this week that I didn't have time.   We did play a few rounds of "Pin the D on the Donkey", using the game to practice recognition skills.


There are so many fun things in our world that begin with the letter D!  I couldn't resist using a dinosaur for our "D" creation.
I cut out big "D's", gave the students paper shapes and a glue stick and let them create their own dino.

Other activities this week included:

Rectangle Match:  I made a math mat (using Publisher) with various sized red and orange rectangle outlines, then made rectangle cutouts to match the outlines.


Farm Magnets:  We are learning about the farm this month so the farm magnet board came out to play!

Creation Puzzles: (from here) One of my teachers put these together last year.  They were a great review tool while we were learning about how God made the world. 

Thursday, October 27, 2011

Fall Fun

What preschool classroom is complete without a little seasonal fun?  Here are some activities we did to celebrate fall over the last few weeks:


Cinnamon Play-Dough:  I found a no-bake recipe here that I thought I'd try with the kids.  It's nice to be able to make the dough in class and not have to worry about using a stove. 
 
We had a great time mixing up the dough together and we've enjoyed playing with it; adding fall leaves to the mix. 


Leaf Exploration:  I placed leaves on the table for students to explore, adding magnifying glasses to get a close-up view.  I also placed crayons and paper at the table so we could make leaf rubbings.

Leaf Graph:  We were working on comparison activities in class so I used our leaves to introduce the concept of a graph (also a great sorting and color review activity!).

Leaf Crowns:  We made crowns (inspired by childhood101.com), practicing making dots with our glue and not puddles (we were semi-successful- I had more dots than puddles : ).

Finger Paint Leaves:  This is my favorite fall project because they turn out so pretty!  I trace leaf patterns onto finger paint paper and offer the kiddos their choice of fall colors to paint with (this year we used red, yellow, and green)  I think all my students chose all of the colors but each leaf turns out different!  After they are dry I cut them out and hang them in my window for the rest of the season.


Our Little Pumpkin Patch: Outside of our playhouse I make a little pumpkin patch for us to play in.  I put brown fabric on the floor, cut out "vines" from construction paper, add garden tools and mini pumpkins and gourds.  

We have a great time picking the pumpkins and then taking them into the house to "cook" with or decorate.


Pumpkin Match: (inspired by teachers.net)  I love the idea of playing the game backwards - start with the matching pictures facing up, find the match, then flip over the card to find the pumpkin - great for younger preschoolers.