Sunday, October 16, 2011

cows in the corn

For some reason cows make me smile - this week I added a few centers that I found (personally) a little humorous.  Don't know if the kiddos found them funny but at least they had fun playing and practicing the sound of letter "C".

Smile #1: The cows that lost their legs (inspired by everythingpreschool)...

To make this center  I found some cow pics to print (I love Google Images!) .  I colored them different colors, cut them out (minus their legs) and laminated them.  Then I took clothespins (2 per cow) and colored them to match.  
The goal of the center is to give the cows their legs back with the matching color - great for color, matching, and fine motor practice!  I had a little fun with this one - whenever I would walk by the center I would take the legs off the cows and announce "the cows lost their legs again!" bringing someone to the rescue : ).

Smile #2: Cows in the corn!  At circle time were learning about cows and we discovered that cows like to eat corn.  I suggested that maybe some of our cows might be happy in our sensory table with the corn so we added a few to play with in our autumn mix.

Smile #3: "C" Cow ( inspired by houseofbabypiranha.com)

This craft evolved throughout the week  (I'm always learning as I go)  I think the easiest process turned out to be:
  1. Cut out "C's" from construction paper, (also cut out cow head/tail clip-art if students are not used to scissors yet - my 4's did great cutting out their own - my 3's, not so much...).
  2. Have students glue on the head and tail (the clip art I found also had a tongue).  For projects like these I make a sample for students to see.  From the sample they can choose to copy or choose to make it their own way - both processes are valuable!
  3. Paint spots on the cow.  We used eye droppers and watered down paint - using the eye droppers was great fun - I'll have to set up a center so we can explore with them some more.

Other "C" centers:
Cow Farm (at the car table)
Cars, blocks & alphabet roads 

 Can't forget the pop-culture connection - Disney's "Cars" coloring pages


Thursday, October 13, 2011

bits and pieces

Every third week in my classroom we take time to review concepts learned from the previous two weeks .  During this week I pull out a mixture of activities from previous weeks to revisit.  Here are a few activities that I haven't posted yet.

1,2 3 Dice Toss:  I remade a foam die with paper and covered the corners with plastic tape.  On 3 faces I wrote the numbers 1-3 and on the other 3 faces I put 1-3 dots.  We played several games with the die, working on recognizing/counting to 3.   In this picture we are playing an apple picking game - roll the die to see how many apples you can pick off of the tree!


 We also played "1,2,3 Move" with our die as a group game.  One student would roll the die.  We'd see where it landed and then do a physical action (jumping, spinning, clapping hands, etc.) the amount of times that the die showed.  It was a great way to practice taking turns and to learn how dice games work.


Spicing up curriculum:  As I stated in an earlier blog, we use Abeka curriculum for the "bones" of our lesson plans.  The pages are pretty basic tracing/coloring.  I usually add something creative to help make the pages a little more fun and interactive.  For number 3 we painted 3 gingerbread men - but not just with any old paint - we added cinnamon to make it spicy!


We also started discussing the changes that are happening during the fall season.  I added corn, fabric leaves, fall confetti, shovels, and sifters into our sensory table.


Thursday, October 6, 2011

busy bees

My preschoolers were busy bees in our classroom this last week.  As I watch the students interact with various play areas I marveled at how different the classroom was from the previous weeks.  The kiddos were staying longer at learning centers and interacting much more with each other!
Here are some of our centers:
  • "B" is for building: At our regular building center I added in a work bench and tools to go with our blocks.  I believe at one point during the week I overheard a group of students singing "Bob the Builder" - it was a hit! 

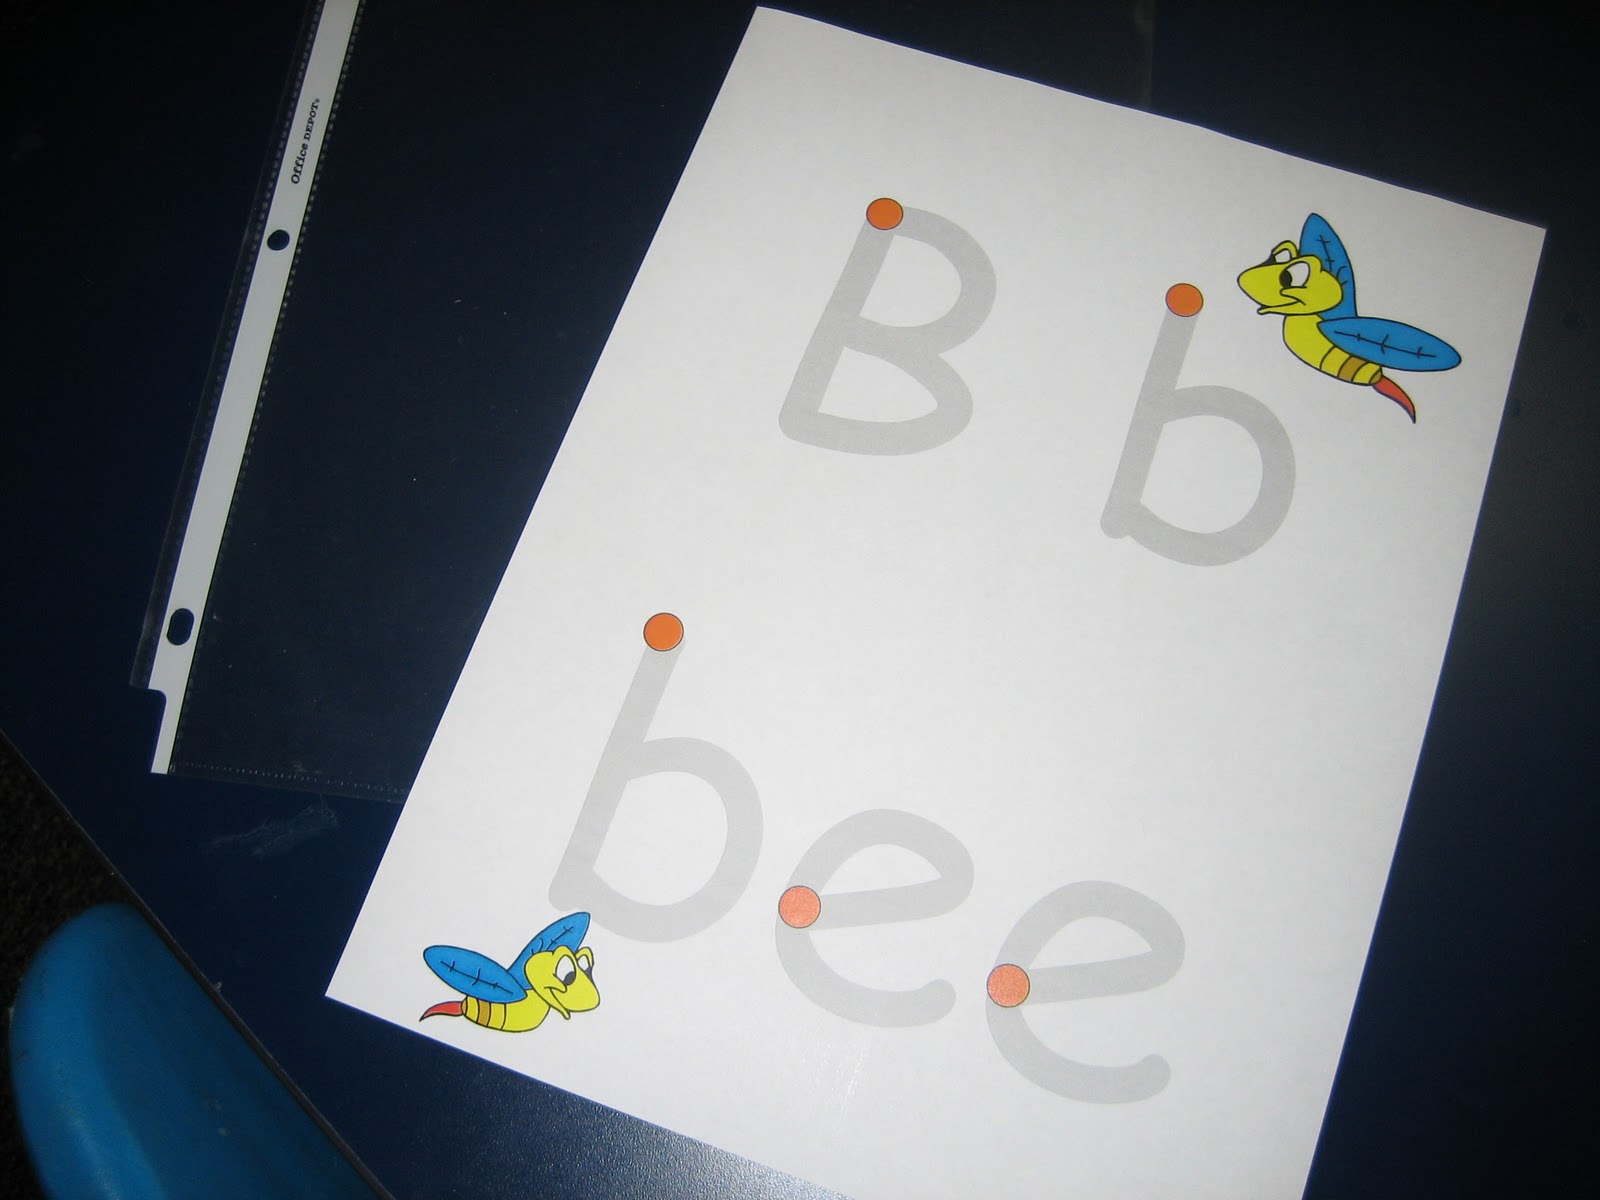
  • "B" Trace & Erase: (I picked up this idea from a pin on Pinterest and morphed it into my own) I created my own tracing pages on publisher and slipped them into page protectors.  The kiddos then used dry erase crayons to "write" on the pages - just erase and reuse.  (Note: to "super" clean the page protectors I used a magic eraser since the dry erase crayons leave behind a little residue)


  • Bee/Flower Count & Match:  I found this game in a Mailbox Numbers book.  The pictures are photocopied onto card stock & laminated.  The bees are glued onto clothes pins.   The object; count the flowers and pin to the correct, numbered bee.


  • Big & Little: We are working on size sorting so I placed "big" and "little" flash cards on two separate trays.  In the middle I placed a container of big and little beans (lima & pinto respectively).  We sorted the beans onto the correct tray. 

  • Sorting Fish, Color & Size:  This game was created by a fellow teacher and I have no idea if the game came from her imagination or from a source - but it's great!  She created game cards with squares that go from small to large.  There are fish cards that match the size and color of the game cards - great sorting activity!


  •  Butterfly "B's":  We had a great time making this project, just glue 2 letter "B" cut-outs back to back onto a large piece of construction paper, add a circle cut-out for the butterfly's head, draw on a face, tape a piece of pipe cleaner to the back side of the paper for antennae, and decorate (we used dot painters) - "B"eautiful!
Love the lips!